The 123-Reg webmail is great for accessing your emails when stationary, but when you’re on the move, you’ll need to set up your 123-Reg emails on your Android smartphone or tablet.
This is a step-by-step guide on how to set up your 123-Reg email accounts on your Android phone or tablet. Got an iPhone? See our guide to setting up 123-reg emails on an iPhone here.
This simple step-by-step guide will include screenshots for each step and for the purpose of this guide we’ll use a test email account “[email protected]”.
So let’s get started.
Step 1 – 123-Reg emails for Android
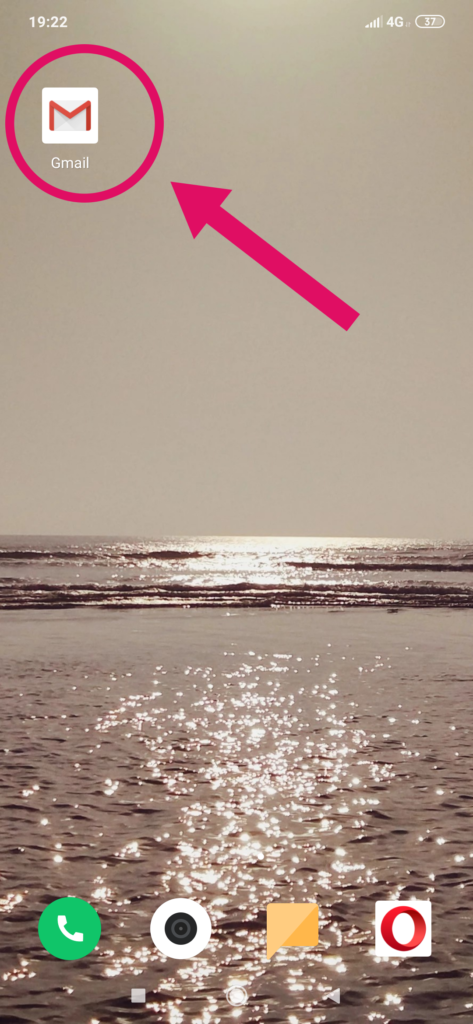
Open the Gmail app (If you do not currently have any email accounts set up on the Gmail app, open the Gmail app then skip to Step 4).
Step 2
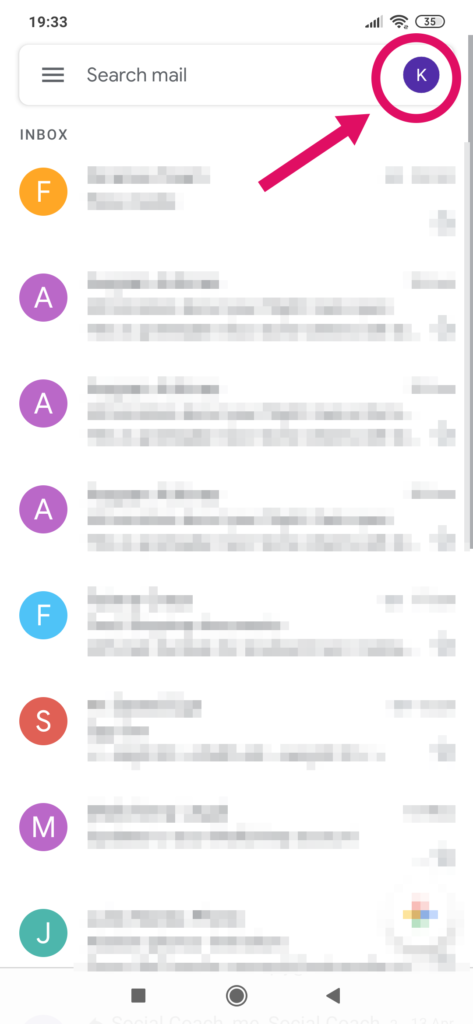
Click on the circle icon in the top right-hand corner
Step 3
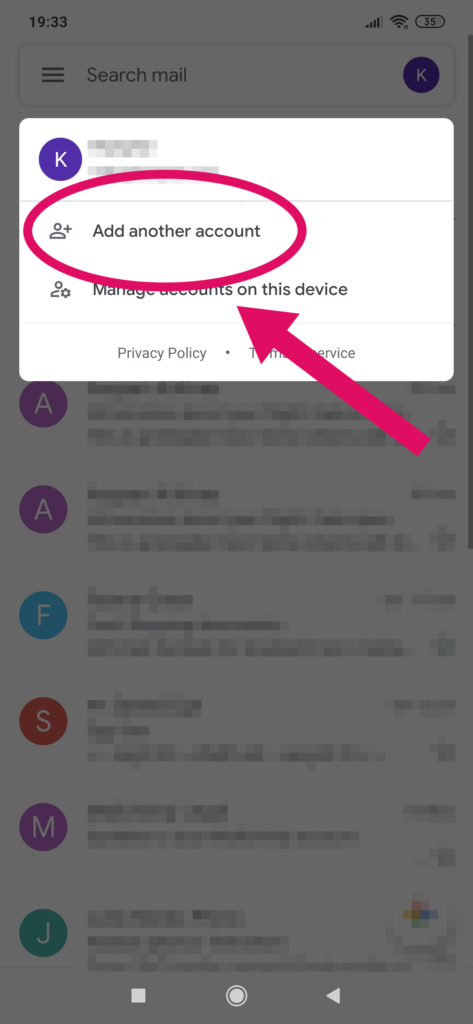
Select “Add another account”
Step 4
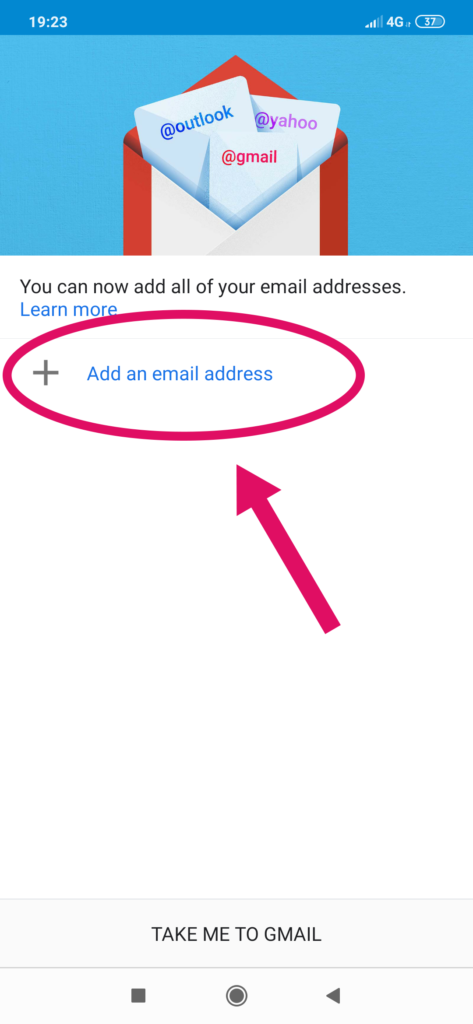
Select “Add an email address”
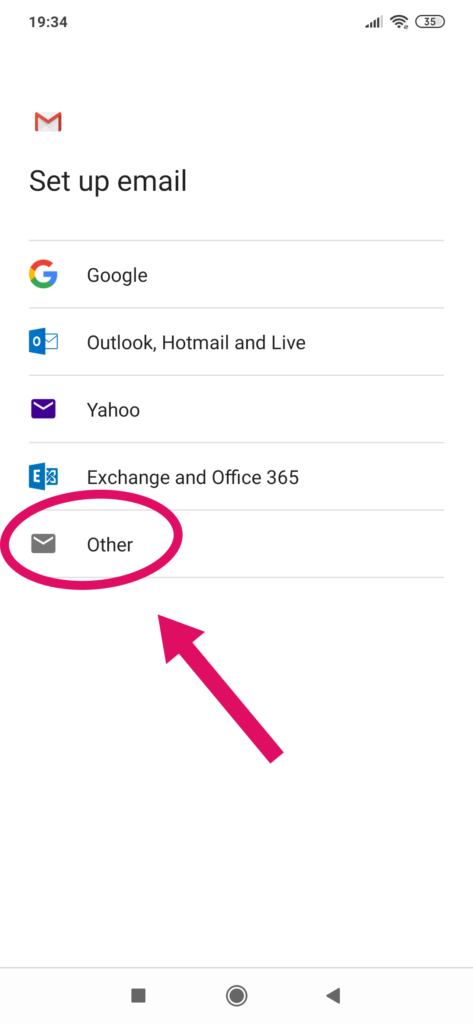
Step 5
Select “Other”
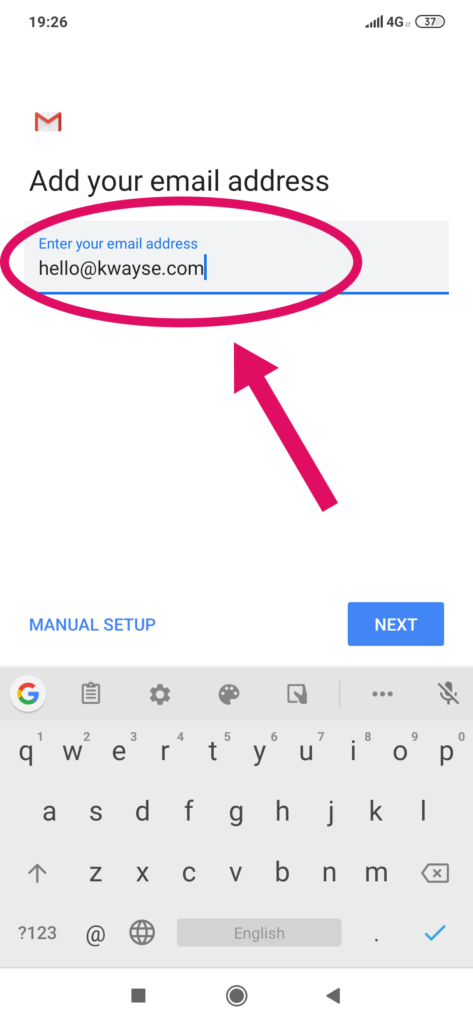
Step 6
In the “Enter your email address” field enter the email address you wish to set up
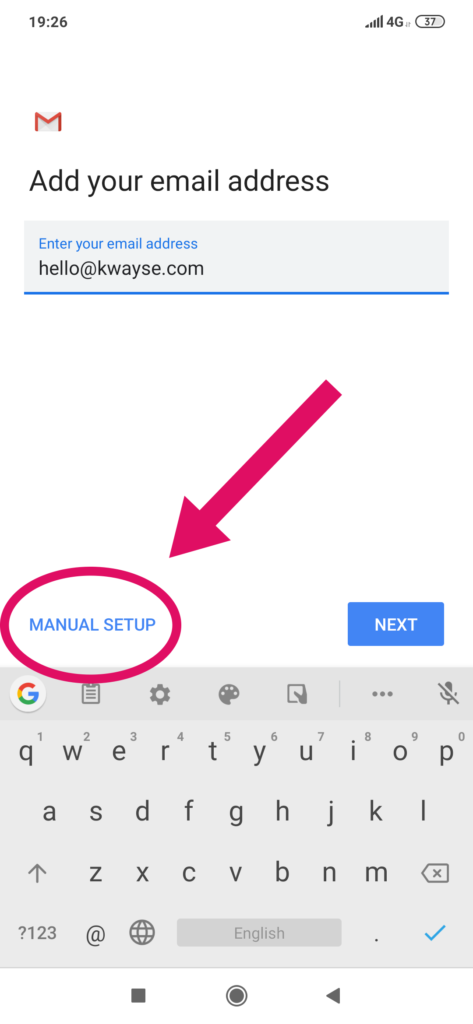
Step 7
Next, select “MANUAL SETUP”
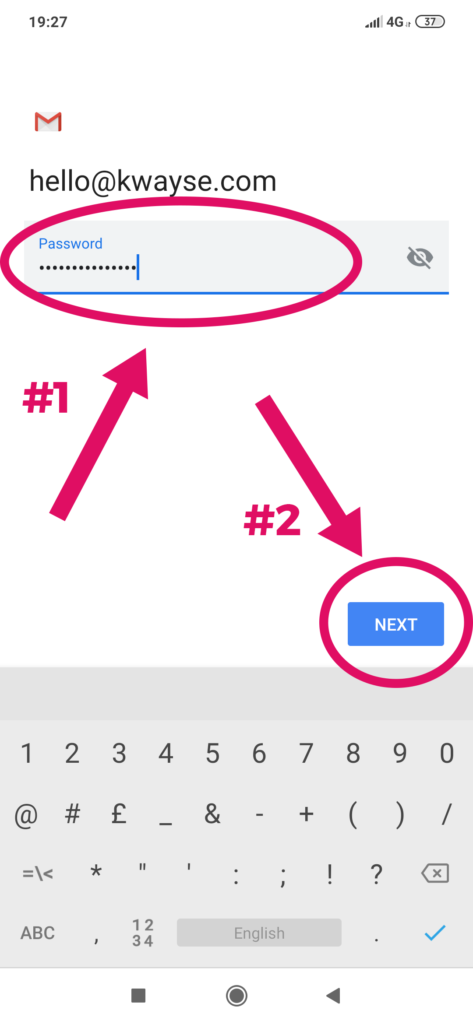
Step 8
Next, put in the password that was provided to you for the account (contact your email administrator if you have not received this) and then select “Next”
Step 9 – Incoming server settings
Next, you’ll need to fill out the “Incoming server settings”. The “Username” should already be populated with the email address you’re trying to set up, and the “Password” field should also be populated with the password we entered in the previous step. You’ll now need to enter into the “Server” field (without the speech marks) “imap.123-reg.co.uk”, then select “Next”

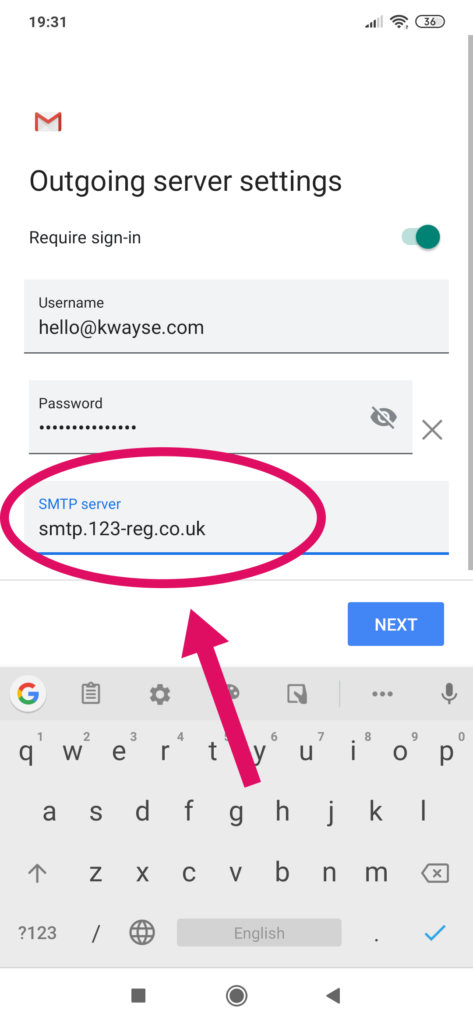
Step 10 – Outgoing server settings
This step is almost identical to the last step, however, this time you’ll need to enter into the “SMTP server” field (without the speech marks) “smtp.123-reg.co.uk”, then select “Next”
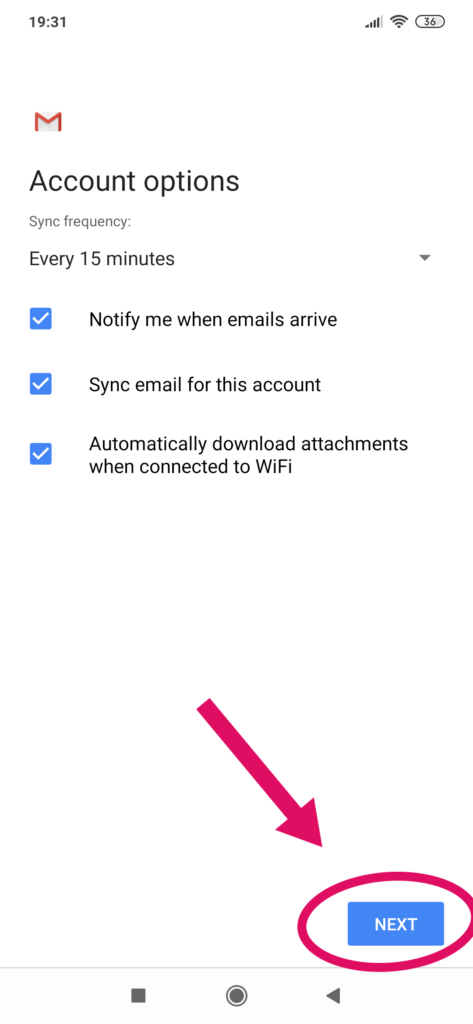
Step 11 – Sync frequency
Next, you’ll have a choice to choose how often Gmail synchronizes your email with the email server. The default is set to every 15 minutes and this is generally sufficient. You can always change this later. Once you’re happy, select “Next”
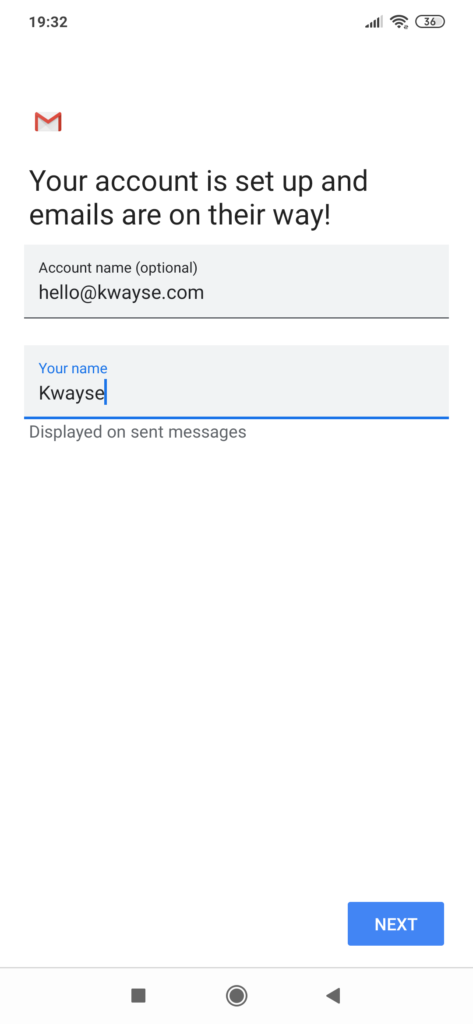
Step 12 – Enter Your Name
Now all that’s left is to enter the “Account name”(we recommended leaving this as the email address) and then enter “Your name” which is the name you want people to see when they receive an email from you. Then select “Next”
And that’s it! You can now repeat the same steps to set up multiple 123-reg email accounts on your Android device.
If you found this article helpful, or have some feedback, let us know in the comments below.

